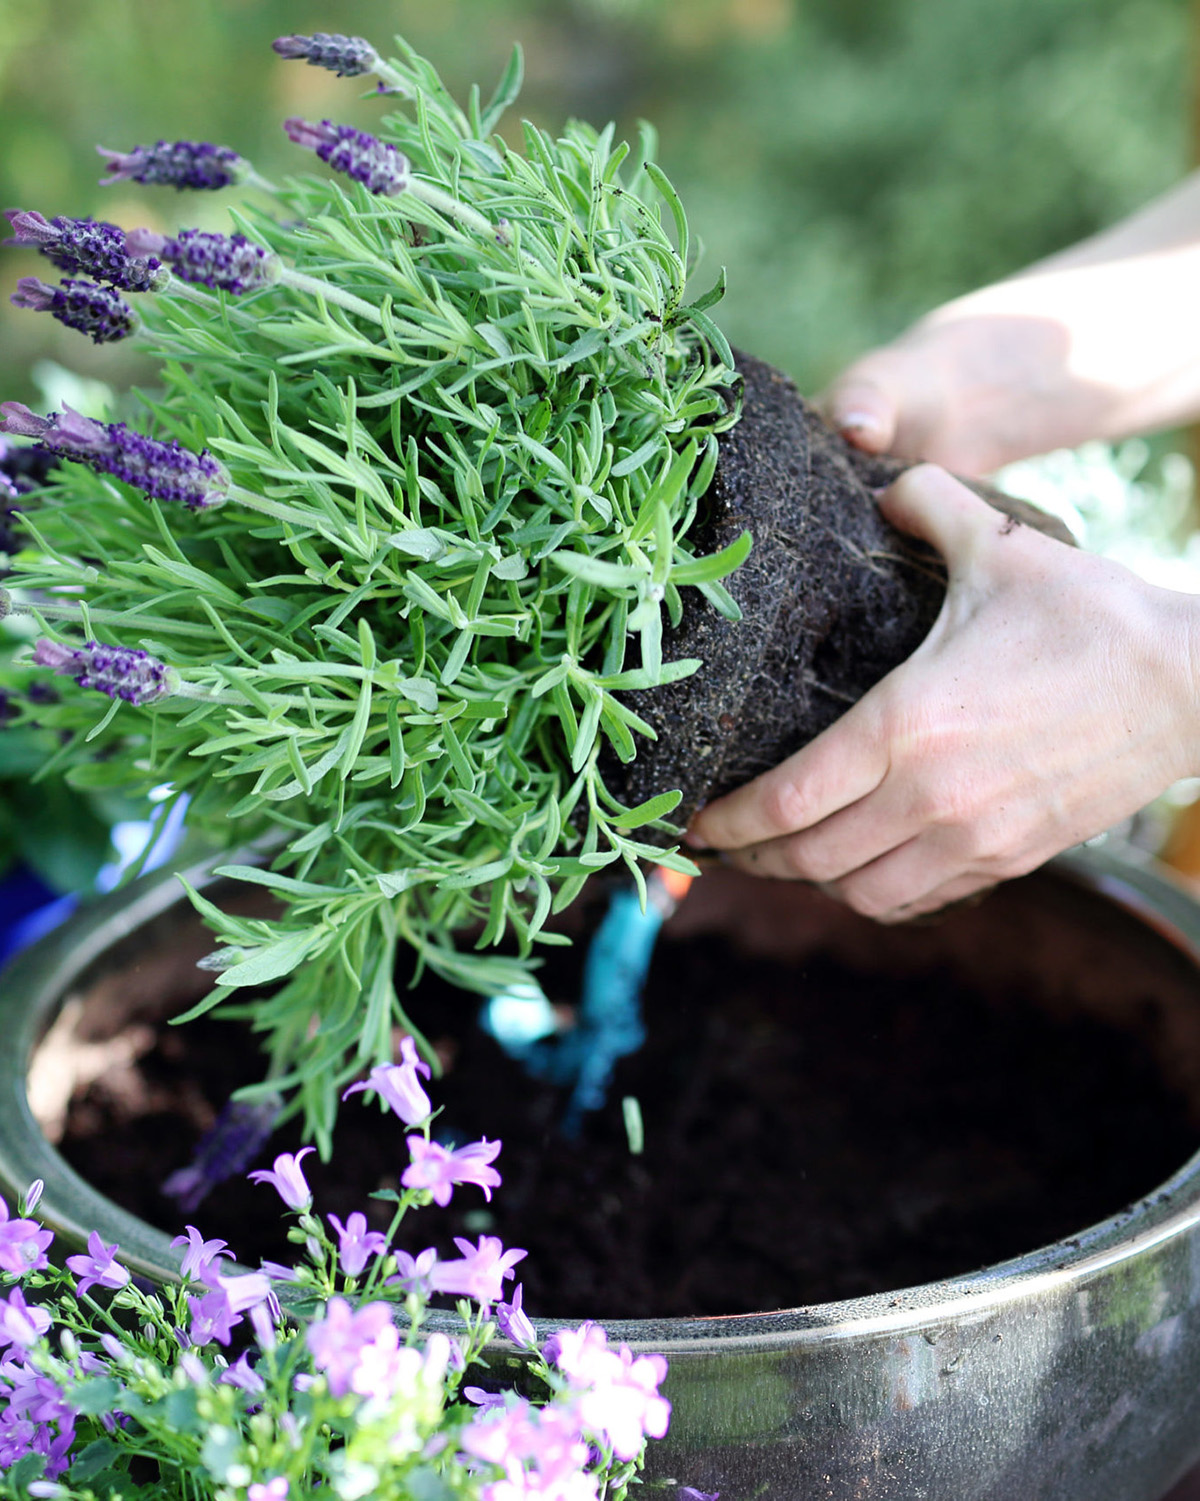
[vc_row][vc_column width=”1/1″][vc_custom_heading auto_text=”yes” heading_semantic=”h1″ text_size=”h1″ subheading=”Once you have chosen your pots, then all you need to do is plant them! Planting pots is really easy, you just need a pot, plant, good quality potting mix, drainage material and accessories if applicable.”][/vc_custom_heading][vc_separator sep_color=”accent” icon_position=”left” el_width=”30%”][vc_column_text]This guide can be followed or adapted for pots of all sizes, including hanging baskets and large planters and boxes. It can also be used for planting vertical wall gardens.[/vc_column_text][vc_custom_heading heading_semantic=”h4″ text_size=”h4″]Step 1[/vc_custom_heading][vc_column_text]Get everything ready in the location you are going to plant the pot (especially for larger pot, as once filled them can be difficult to move). If you are using feet or a saucer get these in position also.[/vc_column_text][vc_custom_heading heading_semantic=”h4″ text_size=”h4″]Step 2[/vc_custom_heading][vc_column_text]Cut a single layer of flywire (or other mesh or drainage material) slightly larger than the base of the pot and position it over the drainage holes. This will keep large soil chunks from escaping the drainage holes losing nutrients. Don’t use a fabric or weed mat as this can cause waterlogging and root rot.[/vc_column_text][vc_custom_heading heading_semantic=”h4″ text_size=”h4″]Step 3[/vc_custom_heading][vc_column_text]Using good quality potting mix, add 30-40mm of the fresh mix into the base of the pot. You don’t need to add gravel as good quality potting mix with allow the water to drain properly. [/vc_column_text][vc_custom_heading heading_semantic=”h4″ text_size=”h4″]Step 4[/vc_custom_heading][vc_column_text]Holding your hand over the top of the mix in which the plant is currently growing, up end the pot and tap the rim on a bench to loosen and remove it. Gently loosen (‘tease’) the root ball without disturbing roots too much and remove any damaged, dried or twisted roots.[/vc_column_text][vc_custom_heading heading_semantic=”h4″ text_size=”h4″]Step 5[/vc_custom_heading][vc_column_text]Place the root ball in the centre of the new pot (if potting up individually) or position it where you want it grow in a larger container that will eventually hold several plants.[/vc_column_text][vc_custom_heading heading_semantic=”h4″ text_size=”h4″]Step 6[/vc_custom_heading][vc_column_text]Check that it’s sitting at about the same level as it was in the previous pot. If it is too low (plant is sitting deeper than it was previously), lift it out and add more mix to the bottom of the pot. Repeat until the plant is at the right level.[/vc_column_text][vc_custom_heading heading_semantic=”h4″ text_size=”h4″]Step 7[/vc_custom_heading][vc_column_text]Fill the pot with potting mix to within 10-20mm of the top rim of the pot, working the mix in and around the plant’s roots. Tap the pot or container gently on the bench to settle the new mix and remove any air pockets around the roots. Do not pack it down too firmly.[/vc_column_text][vc_custom_heading heading_semantic=”h4″ text_size=”h4″]Step 8[/vc_custom_heading][vc_column_text]Water the potted plant which will help the soil settle. Top up soil if needed to get to right level. Move into position, add accessories such as pebbles etc you may have and you are done![/vc_column_text][/vc_column][/vc_row]